Flower Cuff Kandi Tutorial
I have another tutorial for you all today, at the request of a friend! This one is for making a classic flower cuff.

You'll need 6 beads for each flower's petals, plus 1 bead for each flower's center. Calculate accordingly.
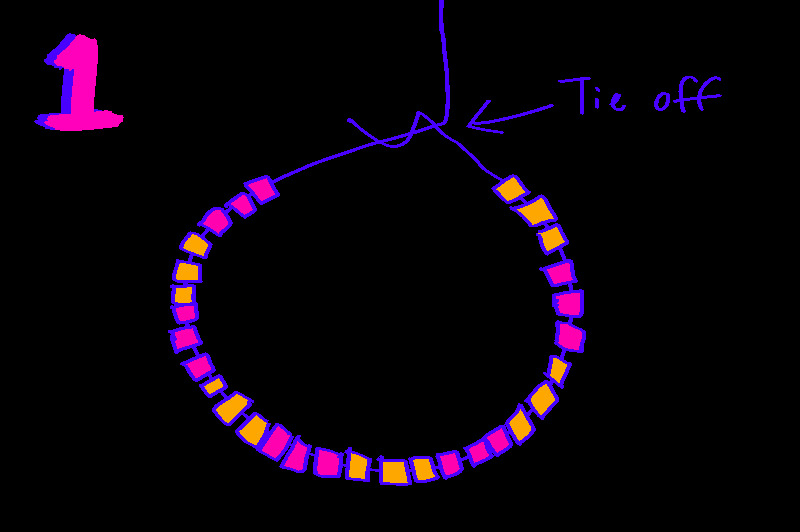
First, start by making a single. You will need to put 3 beads for each of your flowers, they can be any color you like. A total of 30 beads (so, 10 flowers) is a pretty good size for most people but you can go bigger or smaller, as long as you stick with a multiple of 3. Tie it off like you would when making an x cuff, and cut off the short extra string but not the long extra string.

Next, string through one of your outer petal beads, add a center bead, and string back through the next outer petal bead. Continue this pattern all the way around your cuff.

Pull your cord tight enough that it starts to form the shape of the flowers, as shown. Then, tie it off. Tying it off here is crucial to get the shape right - don't skip this step! As before, cut off the short extra cord but keep the long extra cord.

Next, string through one of your petals to reach a center bead, then string through that center bead. Add 2 petal beads as shown, and string through the next center. Continue this pattern around your whole cuff.

Once you've gone around the whole cuff, you'll once again tie it off, cut the short excess string, and keep the long excess string.

I used a different color for the new bits here since it was getting hard to see, but don't worry, that doesn't mean anything. The last step is to string through the 2 petal beads that are now on top, add your final top petal bead, string back through the next 2 upper side petal beads, and continue this pattern all the way around. When you finish, tie it off and trim the loose cord ends. Your cuff is done!
